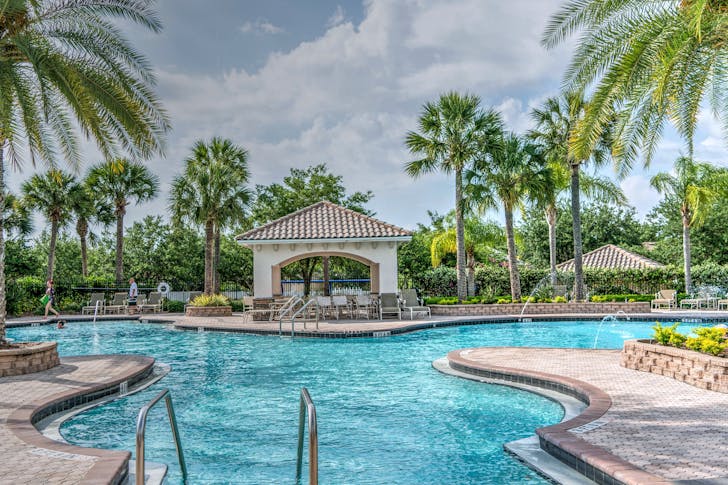
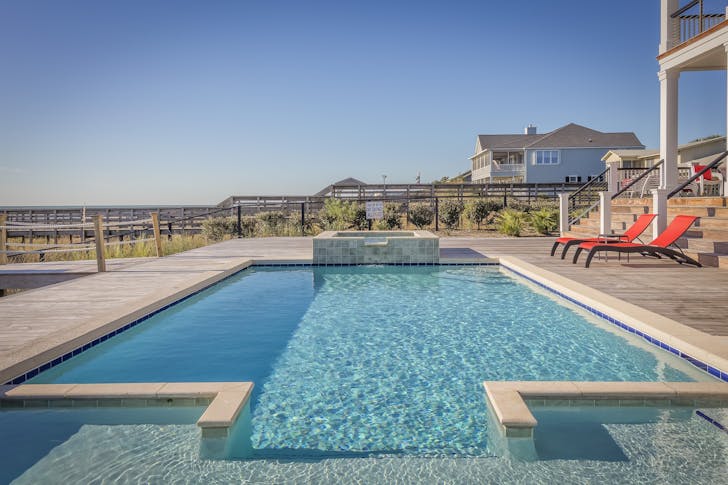
Building an in-ground swimming pool yourself is not impossible. But it is not a weekend project either. If you are handy, have time, and know when to call in the pros, you can absolutely make it happen.
Here is how to do it without cutting corners or draining your sanity:
Design, Planning & Permitting
The first step in any in-ground swimming pool project is locking in the design. Size, shape, depth, steps, extras like spas or waterfalls, you need it all planned out before breaking ground. You can sketch it by hand or use design software. Some people even hire a designer for a one-time consultation to get it right.

Pixabay / Pexels / Once the design is set, it needs to go through engineering. You will need a licensed engineer to review and approve it.
This is to make sure the pool won’t collapse or shift. After that, take your plans to the local building department and apply for permits. No permits, no pool.
Site Prep and Demolition
Pick your spot and clear it out. That might mean cutting down trees, tearing out patios, or removing sheds. You will need space for the pool, the equipment, and room to move while building. Renting a Bobcat or skid steer will save your back.
Got reusable materials like bricks or pavers? Offer them online for free. People will haul it away fast, and you won’t have to pay disposal fees.
Excavation
Mark your pool’s layout using spray paint and double-check it against your approved plans. Then rent an excavator and start digging. Shape and depth must be accurate. Don't eyeball it.
Call 811 before you dig. You need to know where utility lines are, or you risk serious injury or fines. Also, check your local water table. If the area is prone to groundwater, you will need a pump ready to keep it dry while you work.
Installing the Rebar Cage
With the hole ready, it is time to reinforce it. Use steel rebar to build a cage inside the excavation. This is what gives the concrete its strength. Usually, it is #3 rebar spaced 12 inches apart, but your local building code may require something different.
Tie all the bars together securely. If this cage fails, your entire pool shell could crack. Take your time here, and don’t cut corners.
Plumbing and Electrical Setup
Now, you install the underground plumbing. That includes the main drain, skimmers, return jets, and anything else that moves water. Pressure-test everything. A leak under concrete is a disaster waiting to happen.
Electrical conduits also go in now. These will power your pump, filter, lights, and heater. This is not the place to DIY unless you are licensed. Hire a pro. Every line must meet code and pass inspection.

Pixabay / Pexes / For the deck, you can use concrete, pavers, and natural stone. Choose what fits your style and budget.
Gunite or Shotcrete Shell
This is where your in-ground swimming pool really starts looking like a pool. Gunite or shotcrete is sprayed over the rebar to form the shell. It is thick, heavy, and tricky to apply correctly. Most people bring in a crew for this part.
After spraying, workers smooth and shape the surface. It then needs to cure. This takes four full weeks. During the first two weeks, lightly hose it down a few times a day. That helps prevent cracks and ensures a strong finish.
Tile, Coping, and Decking
Once the shell cures, it is time for tile and coping. Tile lines the top interior edge of the pool, and coping caps the top of the shell and sits level with your future deck. Choose materials that look good and won’t crack or fade over time.
Remember, this part pulls the whole backyard together.
Interior Finish and Plaster
The interior finish makes the pool waterproof and swim-ready. Plaster is the most common choice. It gives a smooth surface and seals the shell. Some people go for pebble finishes for extra texture and durability.
Once the plaster is on, fill the pool with water immediately. Do not let the plaster dry out before filling. Follow the manufacturer's cure instructions exactly.


